14 KiB
Installing Cakefoot as an Arcade Cabinet
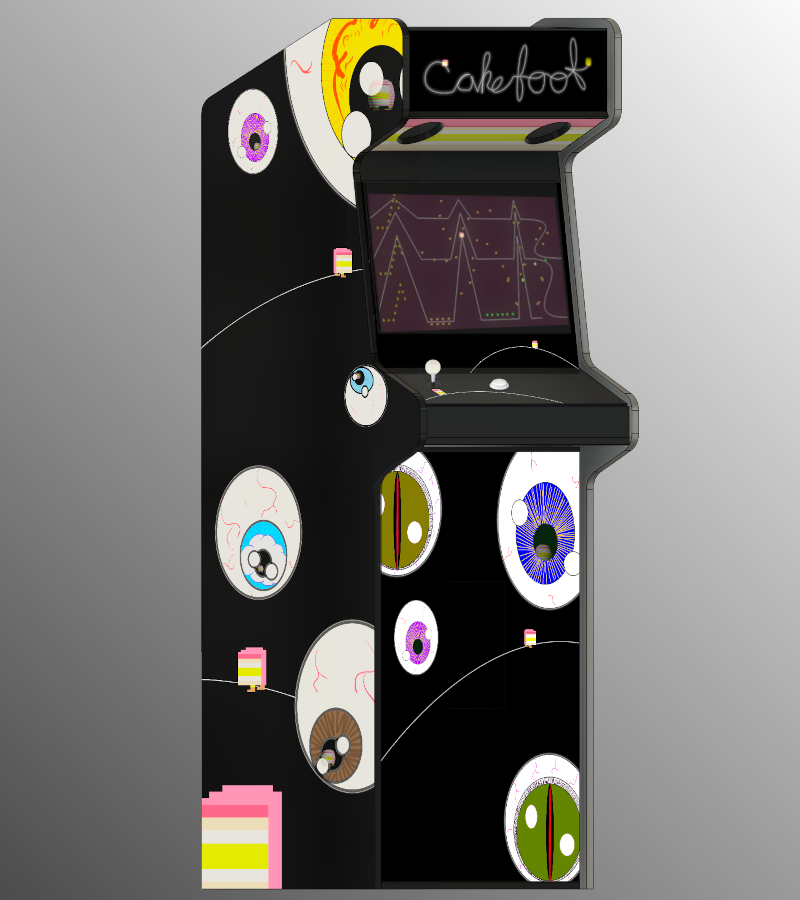
Cakefoot can be installed in arcade-only mode to run as an arcade cabinet or kiosk. This guide describes how to install Cakefoot in arcade-only mode on a Beelink MINI S PC.
A different brand of PC can be used by modifying some instructions. The PC should be checked for hardware compatibility with the Linux version being installed. For example, the Beelink MINI S is not compatible with Debian 12 because the WiFi card is only supported by newer Linux kernels, but it is compatible with Debian 13 alpha.
A working Linux build of Cakefoot is a prerequisite if following the steps below. It is possible to build the game directly on the PC, but that is not covered by the instructions. See the Build section for how to get started building Cakefoot.
Other operating systems, like Windows and macOS can also run Cakefoot in arcade-only mode with all features other than automatic updates. See Andy Wallace's post for a Windows installation method that works with the Windows version of Cakefoot.
This guide can be used for other Linux games. This installation does not including a windowing system because Cakefoot uses the SDL library, which does not need a windowing system to open a display. It is possible to install X-windows and create a similar installation, but some instructions will need to be modified.
Create a bootable SD card for installing Linux
Using another computer, create a bootable OS installer that will replace the Beelink MINI S PC's built-in Windows OS with Debian Linux 13. These instructions will use an SD card, but a USB stick can also be used. Make sure it is empty or unused because the contents will be erased.
-
Download balenaEtcher for creating a bootable SD card. For example, this downloads version 1.19.25.
wget https://github.com/balena-io/etcher/releases/download/v1.19.25/balenaEtcher-linux-x64-1.19.25.zip unzip balenaEtcher-linux-x64-1.19.25.zip -
Download the Debian testing netinst ISO. The following will download Debian 13 alpha.
wget https://cdimage.debian.org/cdimage/trixie_di_alpha1/amd64/iso-cd/debian-trixie-DI-alpha1-amd64-netinst.iso -
Launch Balena etcher. It may be necessary to run as root, see the alternative command below if there are errors.
balenaEtcher-linux-x64/balena-etcher # alternately: sudo balenaEtcher-linux-x64/balena-etcher --no-sandbox -
Load the Debian ISO and connect and select the SD card. Then press the "Flash" button.
-
Once the SD card is flashed, remove it and connect it to the Beelink MINI S PC.
Install Debian
Replace Windows with Debian Linux using the installer. For further details on any of these steps or if any issues arise, see the Debian installation guide.
-
Turn on the Beelink MINI S PC and press F7 to bring up the boot menu. Choose the option showing the SD card. For example, it might be something like
UEFI: Generic MassStorageClass1536. -
The installer should load. Choose
Graphical install. Then choose the appropriate language and keyboard settings. -
The installer should detect both ethernet and WiFi interfaces. Choose ethernet if using a wired connection. Otherwise, choose WiFi and set up the network.
-
Choose the system name. It can be any single word, like "cakefoot". Leave the domain name blank.
-
In the next screen, skip setting up the root user and just choose
Continue. That will disable the root account and enable the first user account to be the administrator. -
Skip the full name entry by choosing
Continuesince it won't be relevant on this system. -
Enter a username for the user account, like "cakefoot". It's OK if it's the same as the system name. Then choose a password.
-
Choose the appropriate time zone for the system.
-
In the disk partitioning step, the entire hard drive will be erased and reformatted. Windows will be erased, but if it was previously activated, it can later be restored if necessary using an ISO downloaded from Microsoft. Choose
Guided - use entire disk. Make sure to choose the PC's hard drive and not the SD card. For example, the hard drive may be something likeSCSI1 (0,0,0)(SDA) - 512.1 GB ATA FORESEE 512GB SS. Then, chooseAll files in one partitionandFinish partitioning and write changes to disk. -
Continue to install the minimal system.
-
At the software selection screen, uncheck
Debian desktop environmentandGNOME. Check off onlystandard system utilitiesandSSH server. A desktop environment is not necessary for running Cakefoot. -
Once the software is installed, the installation should complete. Remove the SD card and choose
Continueto reboot.
Transfer the build
This transfer method requires the build to be on a USB stick or SD card. Other transfer options include downloading the build and compiling from source on the PC.
-
When the PC reboots, let the menu choose Debian automatically, and the login prompt will appear. Enter the username and password configured during installation.
-
Increase the font size on the console if necessary. Choose
Terminusand16x32to make the font large.sudo dpkg-configure console-setup -
Plug in the USB drive with the build, and look at the output of
fdisk -lto find the drive's device name. In this case, it's/dev/sdbbecause the USB drive capacity is 16GB.> sudo apt install unzip > fdisk -l ... Disk /dev/sdb: 14.46 GiB ... -
Make a directory where the USB drive will be mounted, and mount the drive with permissions for all users to access the files.
sudo mkdir /media/usb_drive sudo mount -o "uid=1000,gid=1000" /dev/sdb /media/usb_drive/ -
Make a directory for the game. Transfer the build into the new folder and unzip it if it's not unzipped already. Finish by un-mounting the USB drive, so it can be unplugged safely.
mkdir ~/cakefoot/
cp -r /media/usb_drive/Cakefoot/Cakefoot-linux-1.4.2.zip ~/cakefoot/
cd ~/cakefoot
unzip Cakefoot-linux-1.4.2.zip
sudo umount /media/usb_drive
Configure the OS and the game and run a test
Before running the game, some dependencies need to be installed, and some audio and video settings need to be edited.
-
Install Open GL and SDL for video, and ALSA utils for audio.
sudo apt update sudo apt install alsa-utils libsdl2-2.0-0 libsdl2-image-2.0-0 libsdl2-ttf-2.0-0 libsdl2-mixer-2.0-0 mesa-utils -
Remove SDL shared libraries from the build, so the libraries just installed are used instead. This seems to be necessary for using the KMS DRM video option with SDL, which is required when running the game without a windowing system.
cd ~/cakefoot rm lib/libSDL2* -
Set the master volume and save the setting.
amixer set Master 100% sudo alsactl store -
For the Beelink MINI S, AUX sound should now work. For other systems or for using HDMI instead of AUX, more configuration is required. Use the GUI
alsamixerand the output ofamixerto see which controls connect to HDMI. In this case, the controls forIEC958are the HDMI settings. Make sure they are turned on.> amixer # or alsamixer ...Simple mixer control 'IEC958',0... ...Simple mixer control 'IEC958',1... ...Simple mixer control 'IEC958',2... ...Simple mixer control 'IEC958',3... > amixer set IEC958,0 on > amixer set IEC958,1 on > amixer set IEC958,2 on > amixer set IEC958,3 on > sudo alsactl store -
To set the sound to output to a specific device, for example HDMI, get the device number from
aplayand create a configuration at~/.asoundrc. This can be switched back later by replacing "device 3" with "device 0".> aplay -l ... card 0: PCH [HDA Intel PCH], device 3: HDMI 0 [PROJECTOR] ... > echo -e 'defaults.pcm.!card 0\ndefaults.ctl.!card 0\ndefault.pcm.!device 3\ndefaults.ctl.!device 3' > ~/.asoundrc -
Add the user to the input group, so the game can receive input, and apply the setting.
sudo usermod -a -G input $USER exec sudo su -l $USER -
Cakefoot needs to be configured to run in arcade-only mode. In Cakefoot's git repository, there are configuration files at
src_config_arcade.jsonandsrc/config_arcade_cabinet.jsonthat can be placed in theconfig/folder to configure arcade-only mode automatically. The second file configures the game to require a credit to be inserted, but that setting can be changed later, using an in-game menu. Some settings in these files can be modified if necessary. For example, to use a different screen resolution, thedisplay > dimensionssetting can be edited. If using the same USB drive method as above, transfer the configuration files onto the USB, and copy them into theconfig/folder.cp /media/usb_drive/config_arcade.json /media/usb_drive/config_arcade_cabinet.json \ ~/cakefoot/Cakefoot-linux/config/ -
Cakefoot should now run successfully with sound and input in arcade-only mode. Launch the game and use the keyboard keys to test the game.
cd ~/cakefoot/Cakefoot-linux
./Cakefoot-linux.x64
Launch game on start up
The systemd tool can be used to configure the system to launch the game automatically at startup. The file src/cakefoot.service is used to create a systemd service to run Cakefoot. This file needs to be installed on the system.
-
Use the USB drive to copy the file into the user's
systemdconfigurations folder at~/.config/systemd/user/, and runenableto add the service to the system.mkdir -p ~/.config/systemd/user cp /media/usb_drive/cakefoot.service ~/.config/systemd/user systemctl --user enable cakefoot -
To allow the service to run without the user logging in, the user must be added to
linger.sudo loginctl enable-linger $USER -
The service should run successfully. Because this service re-launches the game automatically when it quits, the command
CTRL+SHIFT+qmust be used to stop the service and fully quit the game.systemctl --user start cakefoot -
Quit the game, reboot the system, and the game should load and run automatically.
sudo reboot
Operator's menu
The configuration parameters in config/cakefoot_arcade_cabinet.json enable access to the arcade operator's menu which contains settings specific to the arcade cabinet version of Cakefoot, including the ability to require coins and the ability to connect to a WiFi network. There is a separate document for the Operator's menu.
Advanced
Once Cakefoot is running in arcade mode, there are a couple of advanced features that can be set up.
Auto Power-on
To turn all the arcade hardware on simultaneously, for example, monitor and speakers, in addition to the PC, it can be useful to plug everything into a power strip which can power everything on or off at the same time. Then, the PC can be configured to run automatically when it receives power, so the whole system can be powered on with one switch.
Cakefoot and the operating system are still being tested in terms of how they deal with the power cutting out. If an operation is in progress when the power is turned off, data corruption is possible. Future updates should add a feature to the operator's menu allowing the PC to safely shutdown before the power is turned off.
-
Turn on the PC and press
F7to bring up the boot menu. Choose"Enter Setup"in the menu that appears to enter the BIOS menu. -
Go to
"Chipset" > "PCH-IO Configuration" > "State After G3"and choose"S0 State"(see screenshots of the process) -
Press F4 to save and exit BIOS.
Automatic updates
Automatic updates require access to an online repository of Cakefoot builds. There is an official repository, but access is protected. It is possible to set up a similar repository on another server by reverse engineering the update script.
Future support may be added for using a USB drive as a repository, so that updates can be installed automatically from a USB drive.
-
Set the URL of the repository in
system > update > locationinconfig/cakefoot_arcade_cabinet.json. -
If necessary, add authorization credentials to
.netrc.echo "machine spicy.meatball login waluigi password 1tsw4lu1g1t1m3" >> ~/.netrc -
Add a custom rule to Linux's polkit system that allows the user to modify network settings without being logged in.
sudo cp /media/usb_drive/polkit_network_manager_rule.js /etc/polkit-1/rules.d/local-NetworkManager.rules
Raspberry Pi
Cakefoot has been tested to compile and run successfully on a Raspberry Pi 4+ 2GB system. The installation can be followed with little modification. However, the build will have to be compiled on the Raspberry Pi because the Linux build is generally created on a Linux system with a different chipset than the Raspberry Pi. To build on the Raspberry Pi, use the Cakefoot-linux.x64 target in the Makefile, which should compile successfully using the version of clang available in the Raspberry Pi package repository. The extension .x64 is just a naming convention. In this case, it should actually be .arm64 instead.