Platform
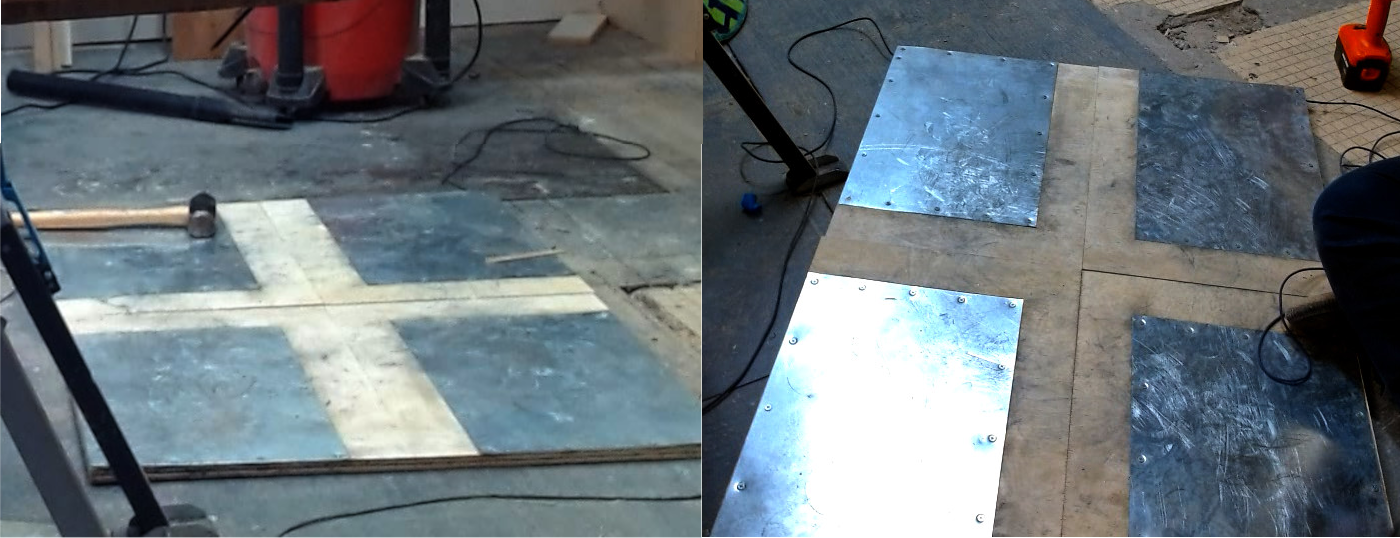
The platform consists of four metal plates, usually mounted to wood, that must be capable of supporting the weight of a person and should not move even under constant friction.
Measuring
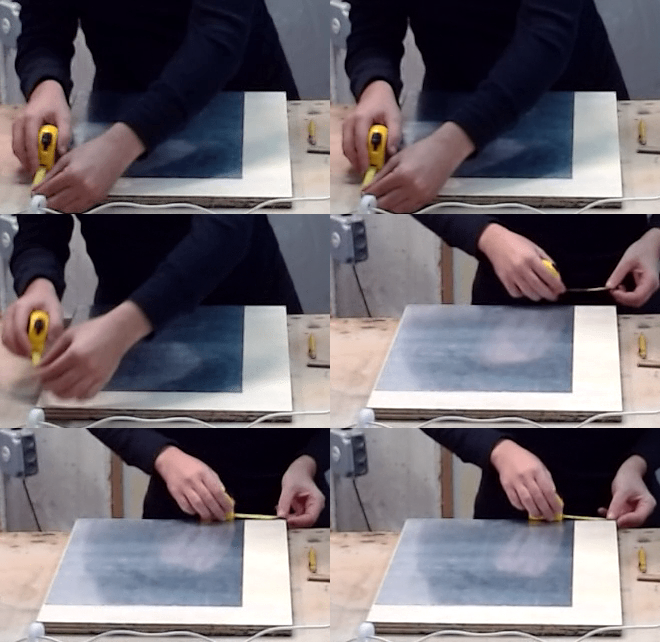
First, measure an outline for the metal, making sure to keep the correct amount of space between the metal plates, close enough together that diagonal moves will register but far enough apart that a single metal pad on the underside of the board won't be able to touch two plates simultaneously. Since the metal pads on the underside of the board are just under 4" in diameter, the metal plates should be around 4" apart.
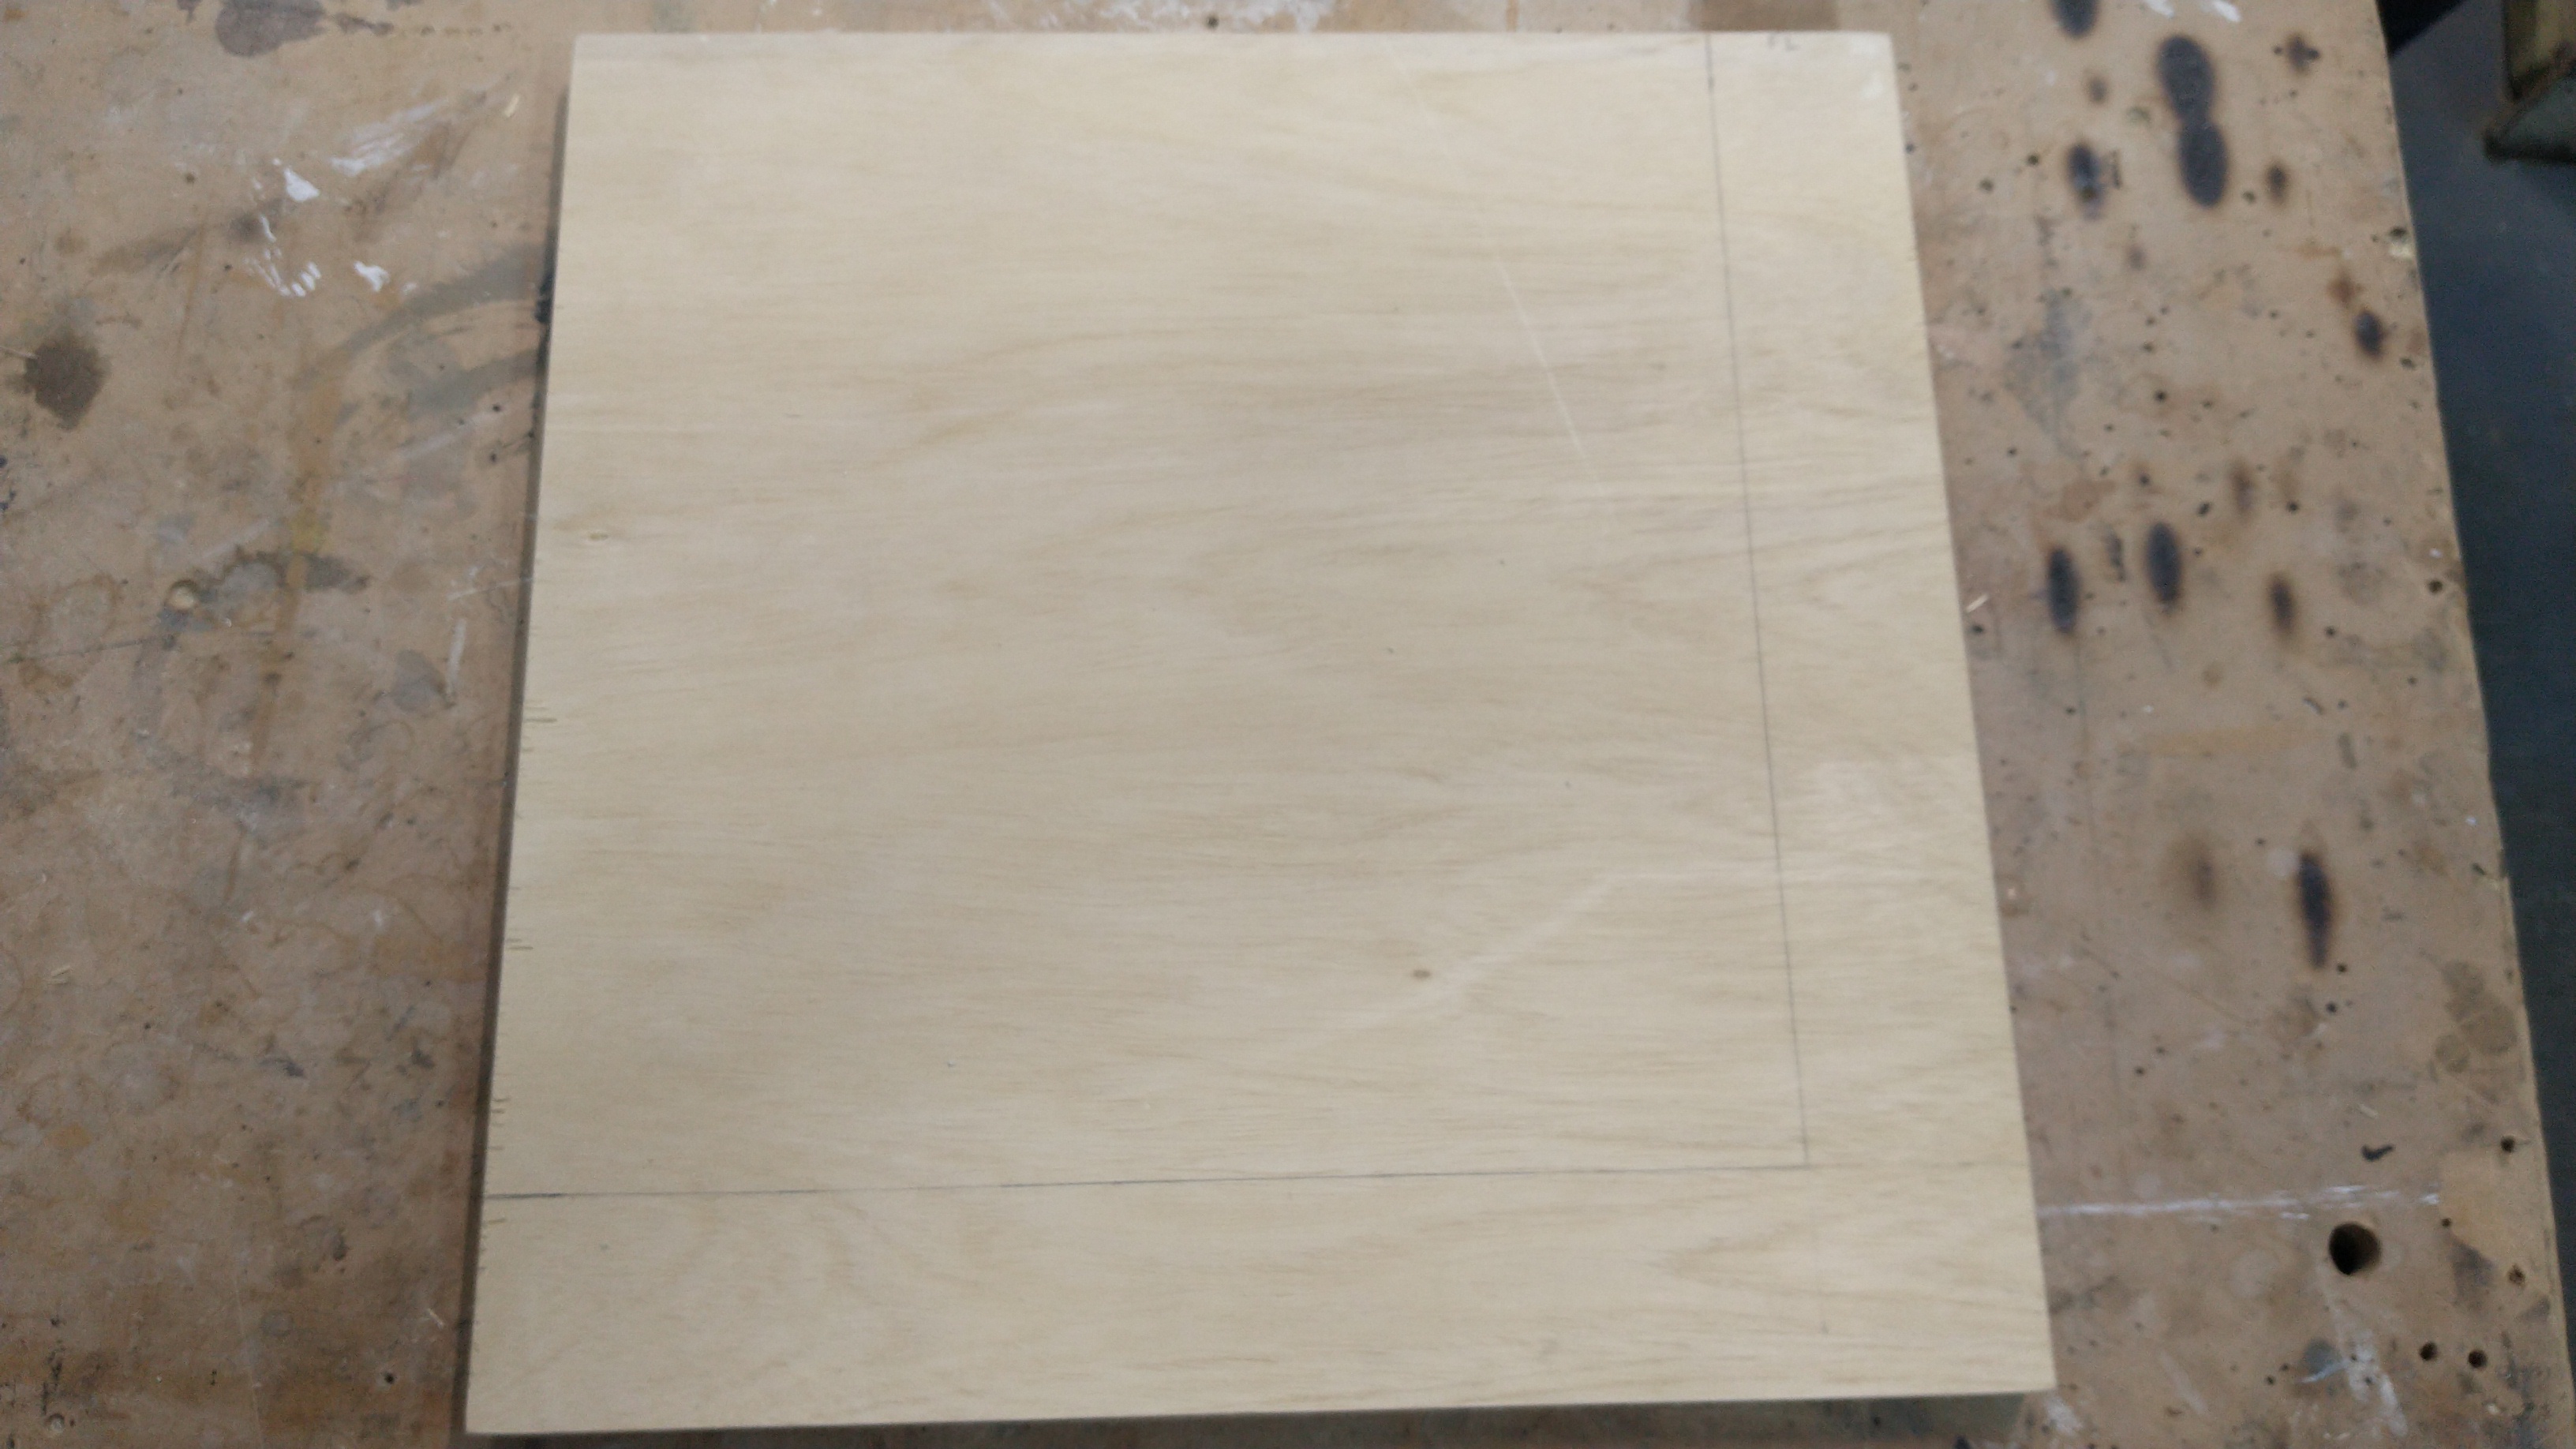
- For each of the panels, measure
2"inward from the two inner edges, going along each edge, marking off2". - Draw a line parallel to the edge of the wood piece on each of the two inner edges. These lines mark where the metal plate should be attached.
Wire preparation
There will be four wires total, one for each metal plate. They should be cut long enough to reach the Arduino. To have them all terminate at the same point, the back two panels should have longer wires than the front two.
- Measure the distances between the Arduino and each metal plate. This will vary depending on the setup, and it is a good idea to measure extra distance.
- Cut wire at the measured distance for each plate.
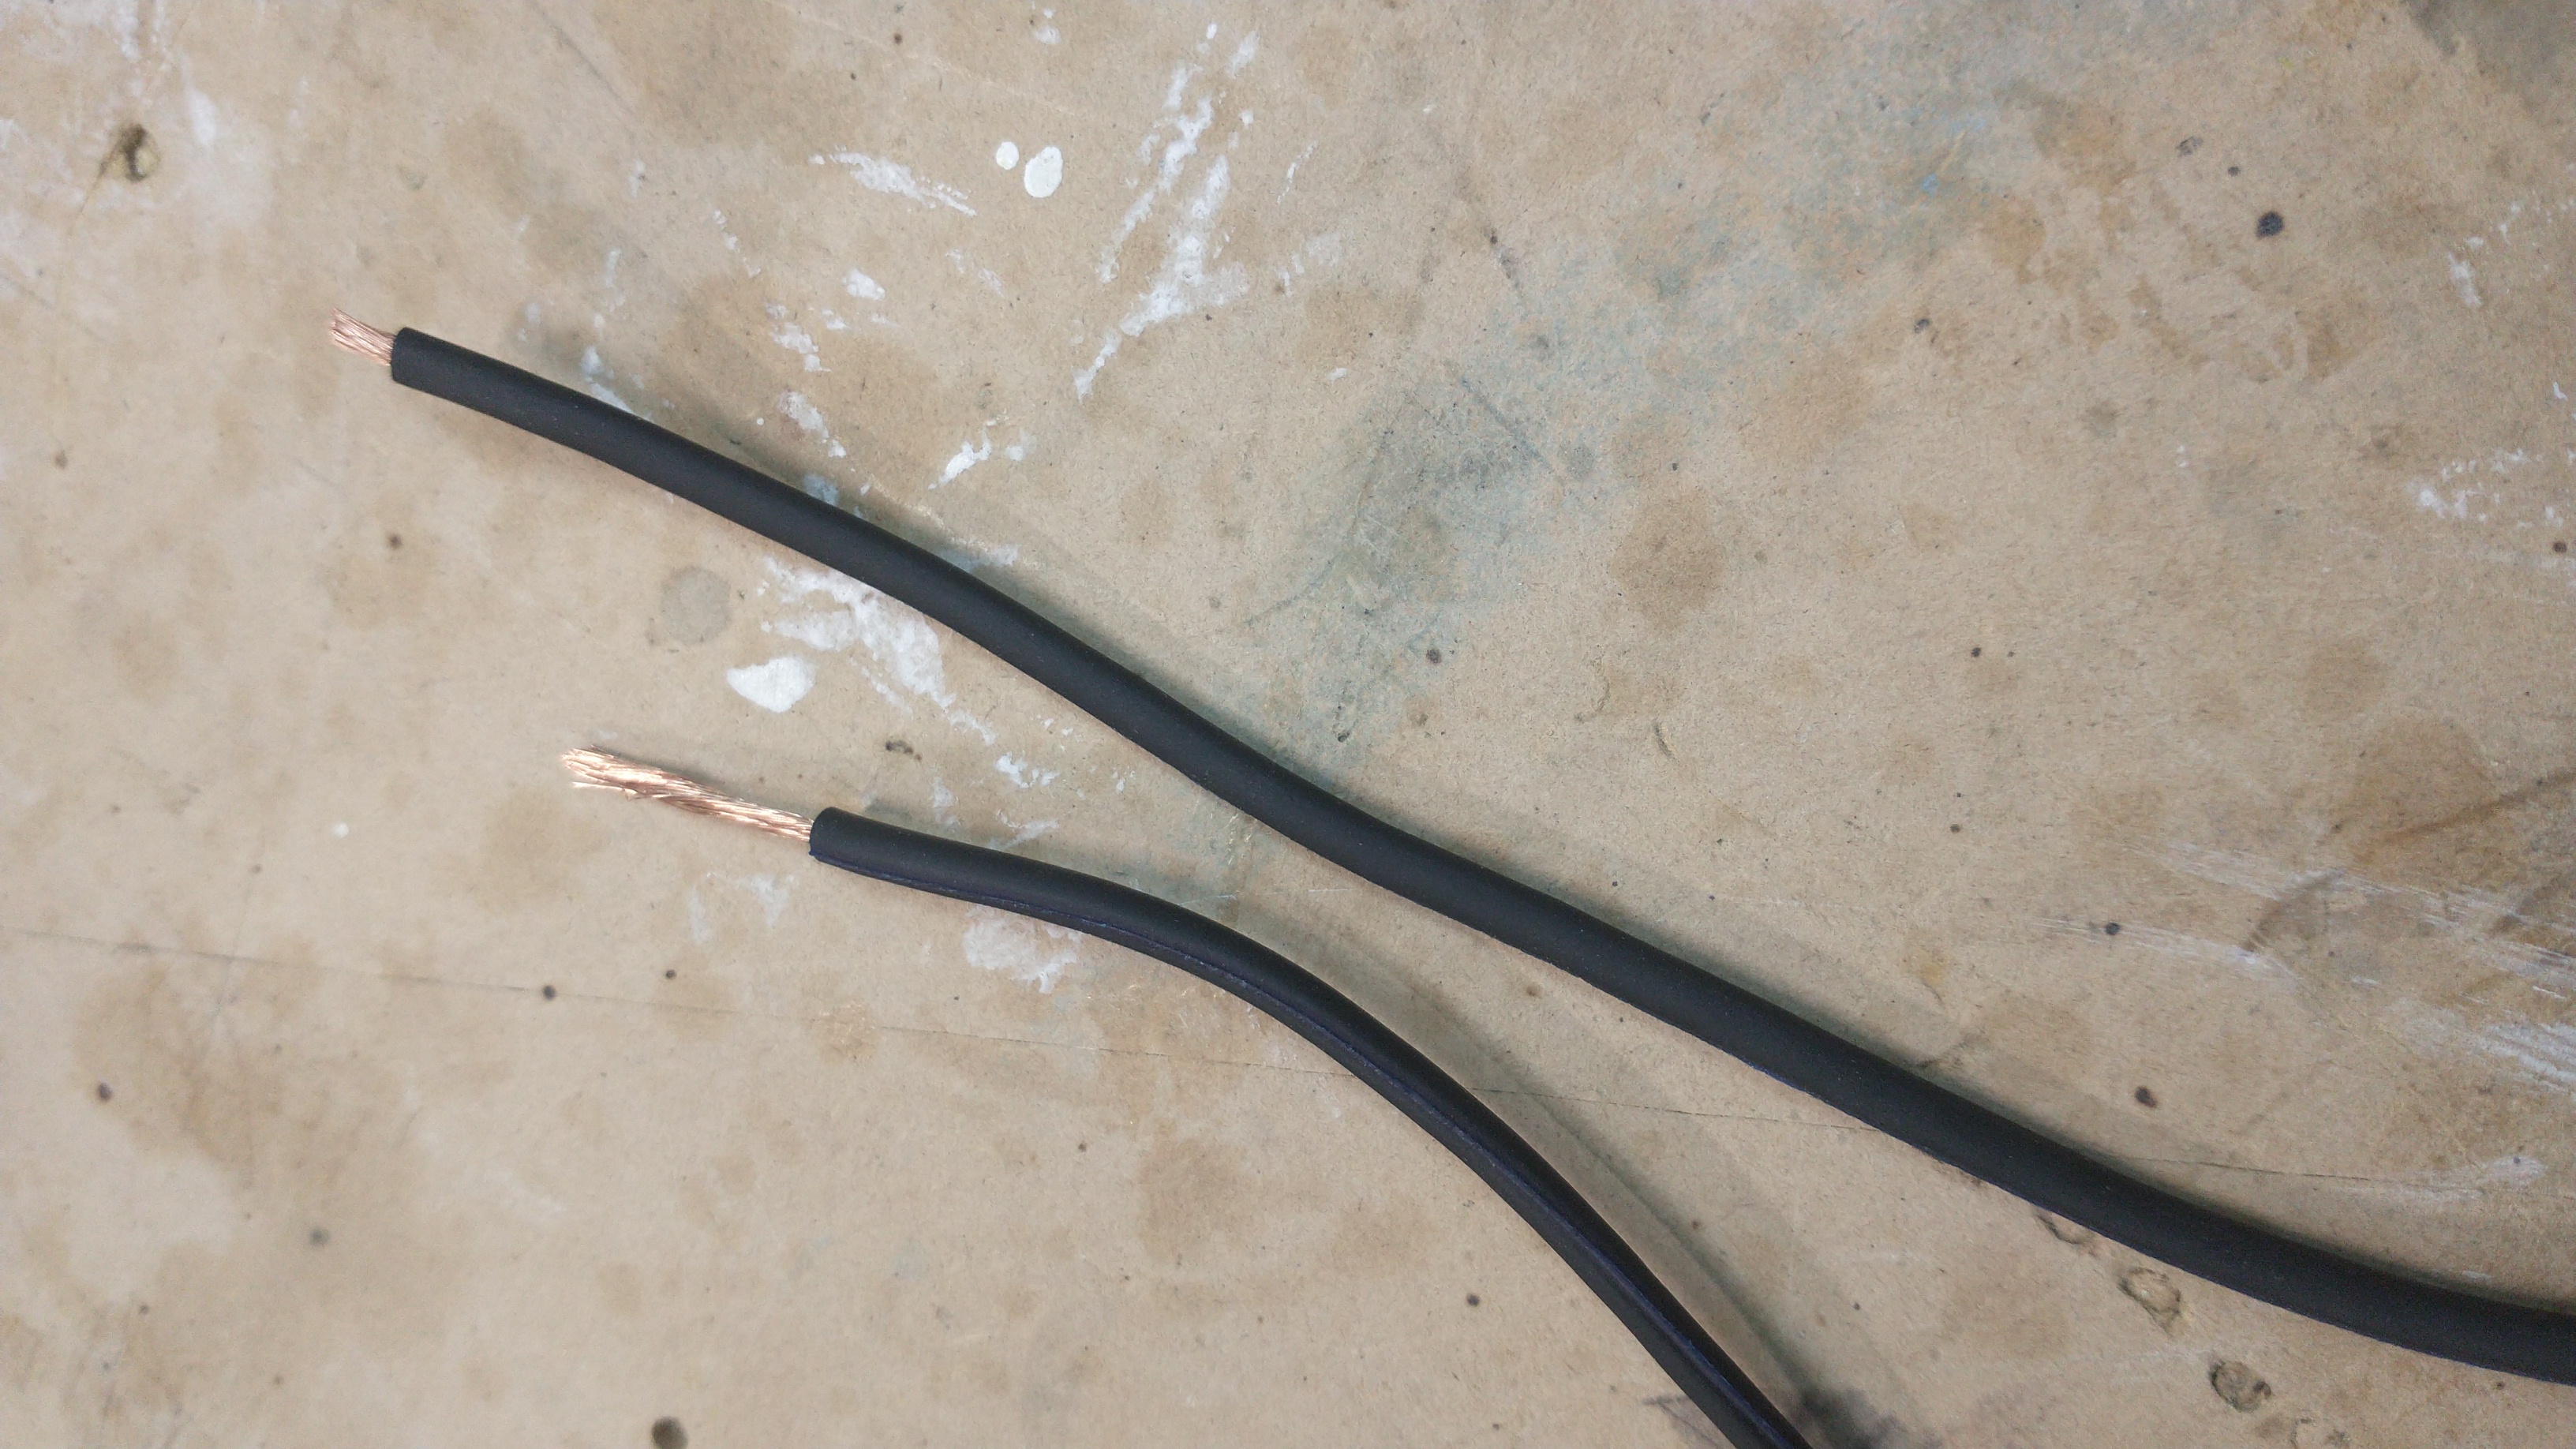
- For each wire, at one end use wire strippers to cut off the sheathing and expose
1/4"of wire. These ends will be inserted into the screw terminals. - For each wire, at the other end, use wire strippers to cut off the sheathing and expose
2"or more of wire. These ends will be attached to the metal plates.
Metal plates and wire connections
The metal plates must be screwed into the platform, leaving the measured cross section of bare wood between them. The wires must be attached to the metal plates. To fasten the metal plates to the wood, 16 screws are used per plate, all along the edges, 3/8" inward from the edge.
Each screw head should be flush with the metal, leaving the surface of the metal smooth across the entire plate. To do this, a countersink must be made in the metal for each screw head.
- On each panel, place the metal plate along the measured lines.
- Each of the screws should be
3/8"away from the edge of the metal. Mark points for the screws so they are evenly spaced around the edge of the metal. With one mark at each corner, there should be two marks between the corners on the short edges, and four marks between the corners on the long edge. - Insert a
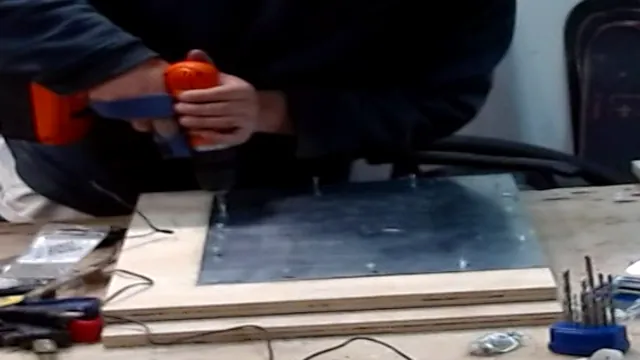
7/64"drill bit into the drill. Pre-drill a hole for each screw through the metal and into the wood at each mark. The hole should only go a bit into the wood. - Use either a
1/2"countersink bit or a23/64"regular bit to drill a countersink the same circumference as the screw head slightly into the metal, just enough for the screw head to be inserted into the metal. - Insert a screw into each hole and drill it in. Include a washer at the corner screw, and carefully wrap the wire around the screw, under the washer, before drilling.
Brackets
The brackets should be attached to the underside of the platform. They are necessary for holding the panels together. With 8 - 12 evenly spaced brackets, the panels will hold together firmly.
- Flip the platform on its backside, with all four panels arranged in their proper orientations.
- Along the cross section seam, place the brackets so they are evenly spaced, covering as much area as possible, without getting too close to the edge or the center.
- Directly drill the brackets into the wood using
5/8"screws.
Non-slip padding
The non-slip padding is necessary on many surfaces to keep the platform from slipping. If the platform is placed on a very non-slippery surface like carpet, however, it may not be necessary. The padding can be placed independently under the platform, or it can be attached to the underside of the platform as described below.
- On each panel's underside, measure a large rectangular area for non-slip padding to attach.
- Cut the non-slip padding material into the shape measured.
- Apply carpet tape to the back side of the non-slip material.
- Firmly press each piece of non-slip material into its place on the underside of the panel.
Connect
The platform can now be connected to the Arduino and tested before moving on to building the board.
- Carefully and slowly flip the platform back over, taking care near the seams because the underside bracketing can make it susceptible to snapping.
- For each wire, insert its far end into its appropriate screw terminal. Going clockwise from the top left plate, the wires connect to pins 2, 3, 4, and 5.
- Use any metal conductor to touch one metal plate to another. The lizard should appear on the screen.
| ⬅ Previous Page | Next Page ➡ |
|---|---|
| Electronics | Board |
