Raspberry Pi
Replacing the computer and Arduino with a Raspberry Pi transforms Scrapeboard into a plug and play device, capable of being played by plugging into a power source and any HDMI display. This is beneficial because it makes the system more portable.
This chapter explains how to install everything from scratch on an empty SD card using Raspberry Pi OS as the operating system. It also explains how to connect the same circuit to a Raspberry Pi's GPIO pins instead of an Arduino. A wi-fi or LAN connection, external display, and USB keyboard are required.
Model
The Raspberry Pi model must have 2GB or higher RAM. Only the Raspberry Pi 4 has been tested, but Raspberry Pi 5 should work as well. A 4GB or larger micro SD card should be used.
Operating System
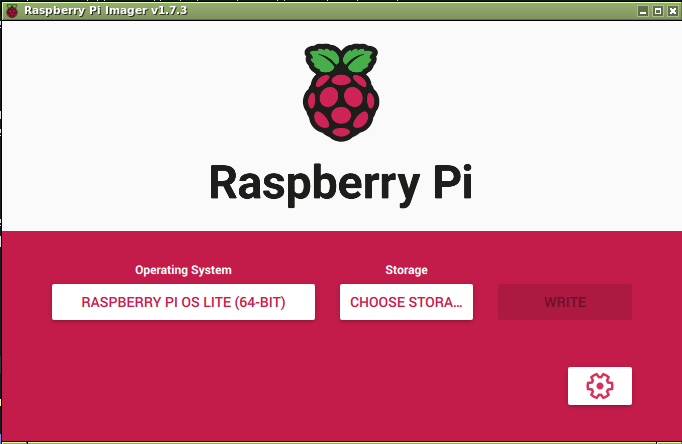
- Get the Raspberry Pi imager software and launch it (note: must be run as authorized user)
- Choose the device that matches the Raspberry Pi.
- Choose
"Raspberry Pi OS (64-bit)"under"Operating System". - Connect an SD card and choose it under
"Storage"
This will install the full desktop system. Later, the option to boot into the desktop will be disabled. However, it can be useful to have the desktop available. It is possible to use the headless version of Raspberry Pi OS, Raspberry Pi OS Lite (64-bit), but it may require special configuration that isn't covered.
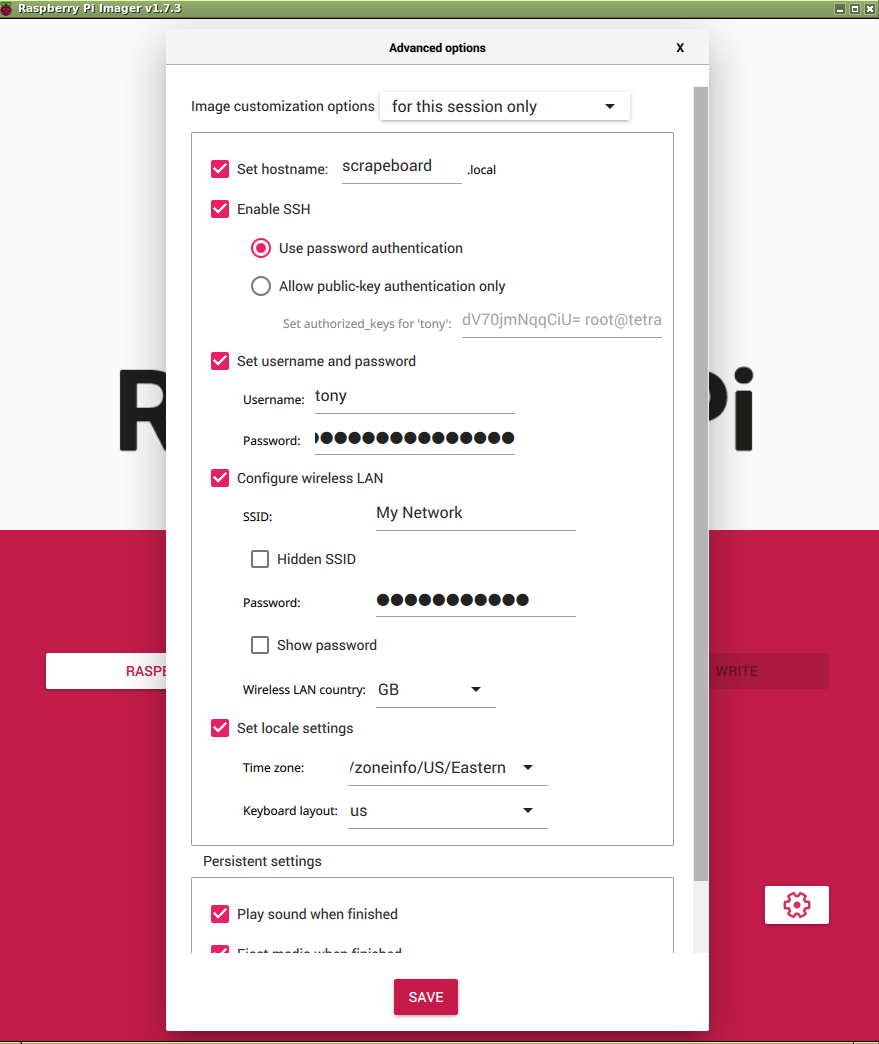
Imager settings tab
- Click the gear button to open the settings
- Check off "Set hostname" and change to "scrapeboard"
- Check off "Enable SSH" with "Use password authentication"
- Check off "Set username and password" and choose your own username and password
- Check off "Configure wireless LAN" and set the SSID and password for your wi-fi network (if wi-fi is unavailable, you can use the Raspberry Pi's ethernet connection or transfer the Scrapeboard files onto the SD card manually later)
- Check off "Set locale settings" and set to your time zone and keyboard layout
Begin installation
Click "WRITE" in the Imager window
Boot
- Insert the SD card into the Raspberry Pi
- Connect the Pi to an external HDMI display
- Connect a USB keyboard
- Power up the Pi (note: an official power adapter is recommended)
- Login with the username and password set during installation
- (Optional) run
sudo apt update && sudo apt upgradeto update the operating system - The system is ready for installing the game software and other software requirements
Installing the software
Install Python, Pygame2, SDL2, Git, and pyserial, and PIL through the package manager.
sudo apt install python3 git python3-pygame python3-pil libsdl2-2.0-0 python3-serial
Scrapeboard
Use Git clone with the --recursive flag to download both the game and framework.
git clone --recursive https://open.shampoo.ooo/scrape/scrapeboard
cd scrapeboard/
Launch
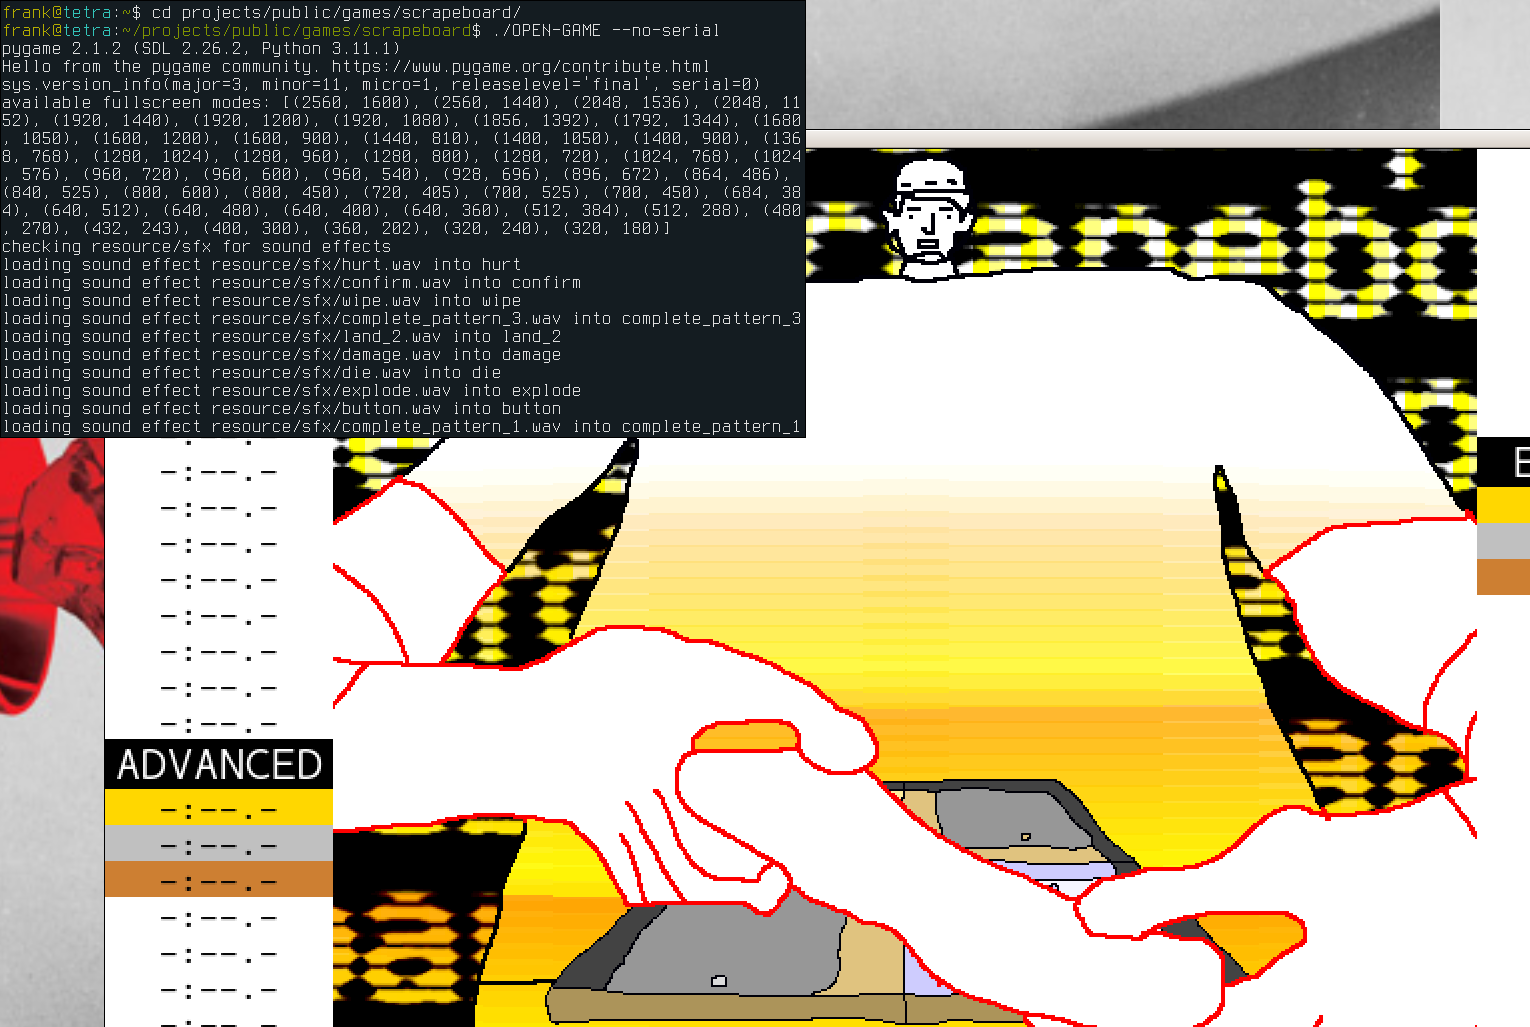
It should be possible to run in keyboard mode and test input with key presses now.
./OPEN-GAME --kms --no-serial
Electronics
Replace Arduino pins 2, 3, 4, and 5 with Raspberry Pi pins 37, 35, 33, and 31 (these pins are also referred to as GPIO 26, GPIO 19, GPIO 13, and GPIO 6) in the circuit. Otherwise, the circuit remains the same as described in the Electronics chapter. The game will automatically communicate with the Raspberry Pi if the --pi flag is used when starting the game.
Now, the game should be able to run with the controller connected to the Pi. To run the game using the scrapeboard and platform, use the --pi flag.
./OPEN-GAME --kms --pi
Set to run at launch
The Pi can be configured to automatically run Scrapeboard when the device is powered on. First, make the Raspberry Pi boot into the console, without either launching the desktop or prompting for login information.
> sudo raspi-config
Navigate to System Options -> Boot / Auto Login and choose Console Autologin to boot directly to the console.
When running as a service, the audio mixer will need the following configuration for handling permissions properly. Edit the file ~/.asoundrc so that it contains the following contents.
> cat ~/.asoundrc
defaults.pcm.card 1
defaults.pcm.device 0
defaults.ctl.card 1
To launch Scrapeboard at startup, create a file at /etc/systemd/system/scrapeboard.service with the following contents (replace tony with your Pi's user name)
[Unit]
Description=It is Scrapeboard you slime bag
After=multi-user.target

[Service]
ExecStart=/home/tony/scrapeboard/OPEN-GAME --kms --pi --go-to-dir
Restart=always
RestartSec=5s
TimeoutStartSec=2min
User=tony

[Install]
WantedBy=default.target
and enable it
sudo systemctl enable scrapeboard.service
Now Scrapeboard will launch at startup and will restart itself if it ever is closed or crashes. If it needs to be restarted or stopped manually it can be controlled through systemd.
sudo systemctl [start | stop] scrapeboard
Use SHIFT + q to permanently quit and get back to the Raspberry Pi console because the regular quit button Q will cause the game to be relaunched automatically.
Appendix
The following operations shouldn't be necessary anymore, but they could be useful for custom installations or when using older Raspberry Pi software.
Resolution
To set the resolution to game resolution 800x450, edit /boot/cmdline.txt by adding a custom video definition to the end of the file. This may be a necessary step when using a headless version of Raspberry Pi OS.
video=HDMI-A-1:800x450M@60
Reboot to use the new resolution
sudo reboot
Manually install Pygame 2 and SDL2
Although it should not be necessary with newer versions of Raspberry Pi OS, Pygame 2 and SDL2 can be installed manually.
Install initial Pygame dependencies
sudo apt install build-essential libfreetype6-dev libportmidi-dev libjpeg-dev \
	python3-setuptools python3-dev python3-numpy cython3
Download SDL2 source. For example, this will download version 2.24.2.
wget https://github.com/libsdl-org/SDL/releases/download/release-2.24.2/SDL2-2.24.2.tar.gz
tar -xf SDL2-2.24.2.tar.gz
cd SDL2-2.24.2/
Enable deb-src repositories by uncommenting the deb-src lines in /etc/apt/sources.list.
Install everything necessary to build SDL2.
sudo apt update && sudo apt build-dep libsdl2
Configure, make, and install
./configure && make && sudo make install
Download and compile SDL image, SDL ttf, and SDL mixer
wget https://github.com/libsdl-org/SDL_image/releases/download/release-2.6.2/SDL2_image-2.6.2.tar.gz
wget https://github.com/libsdl-org/SDL_ttf/releases/download/release-2.20.1/SDL2_ttf-2.20.1.tar.gz
wget https://github.com/libsdl-org/SDL_mixer/releases/download/release-2.6.2/SDL2_mixer-2.6.2.tar.gz
tar -xf SDL2_image-2.6.2.tar.gz
cd SDL2_image-2.6.2/
./configure && make && sudo make install
cd ..
tar -xf SDL2_ttf-2.20.1.tar.gz
cd SDL2_ttf-2.20.1/
./configure && make && sudo make install
cd ..
tar -xf SDL2_mixer-2.6.2.tar.gz
cd SDL2_mixer-2.6.2/
./configure && make && sudo make install
sudo ldconfig
Build Pygame
git clone https://github.com/pygame/pygame
cd pygame
python3 setup.py -config -auto
python3 setup.py build_ext --inplace
python3 setup.py install --user
| ⬅ Previous Page | Next Page ➡ |
|---|---|
| Board | Improved Platform |


